PhotoCraft Examples: Five Tested Image Editing Workflows
Try five original PhotoCraft exercises with input images, real editor captures, downloadable outputs and measured checks: brush, mirror, Mosaic, crop and layered PSD.
photocraft.tools maintainer · Updated
Open the editor and try this workflow ↗Five edits you can repeat with the same image
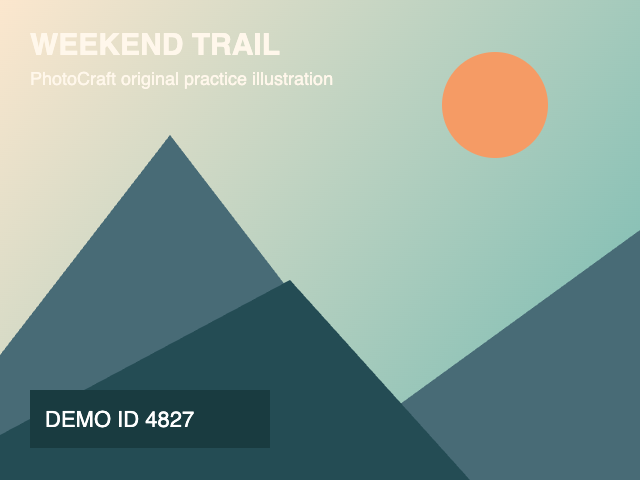
Start with our original Weekend Trail illustration: a 640 × 480 PNG containing mountains, a sun, readable lettering and a demonstration ID. Those asymmetric details make it easy to spot a real flip, crop or edit. Download the input beside any example, open the PhotoCraft workspace, and follow the steps. Ordinary editing needs no account.
We made these examples on 8 November 2026 in the hosted 0.17.0-agent browser editor on macOS. The output files below came from its File menu. Command-driven checks used the editor's local bridge; no remote AI response was used. The illustration is our own synthetic practice material, so you can experiment without uploading personal photos.
1. Add a brush mark, then export a PNG
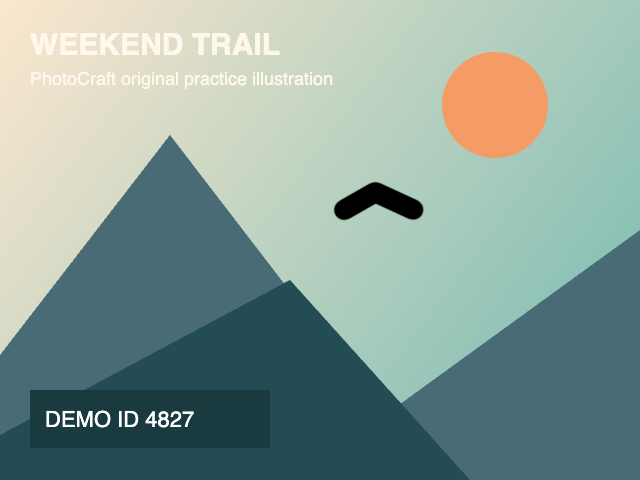
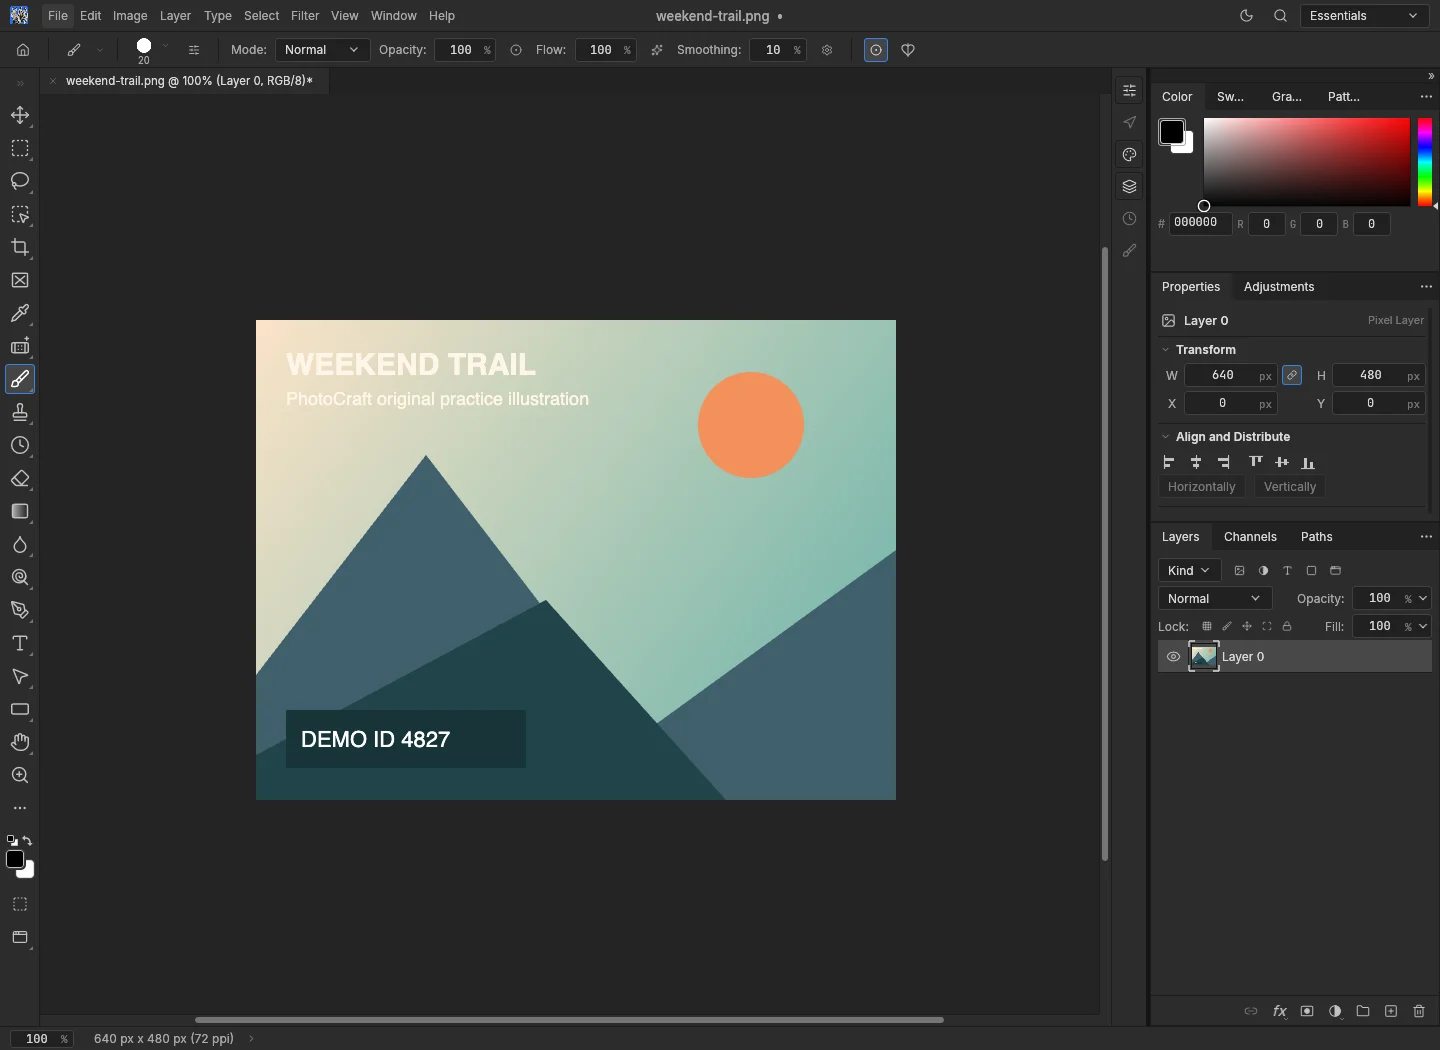
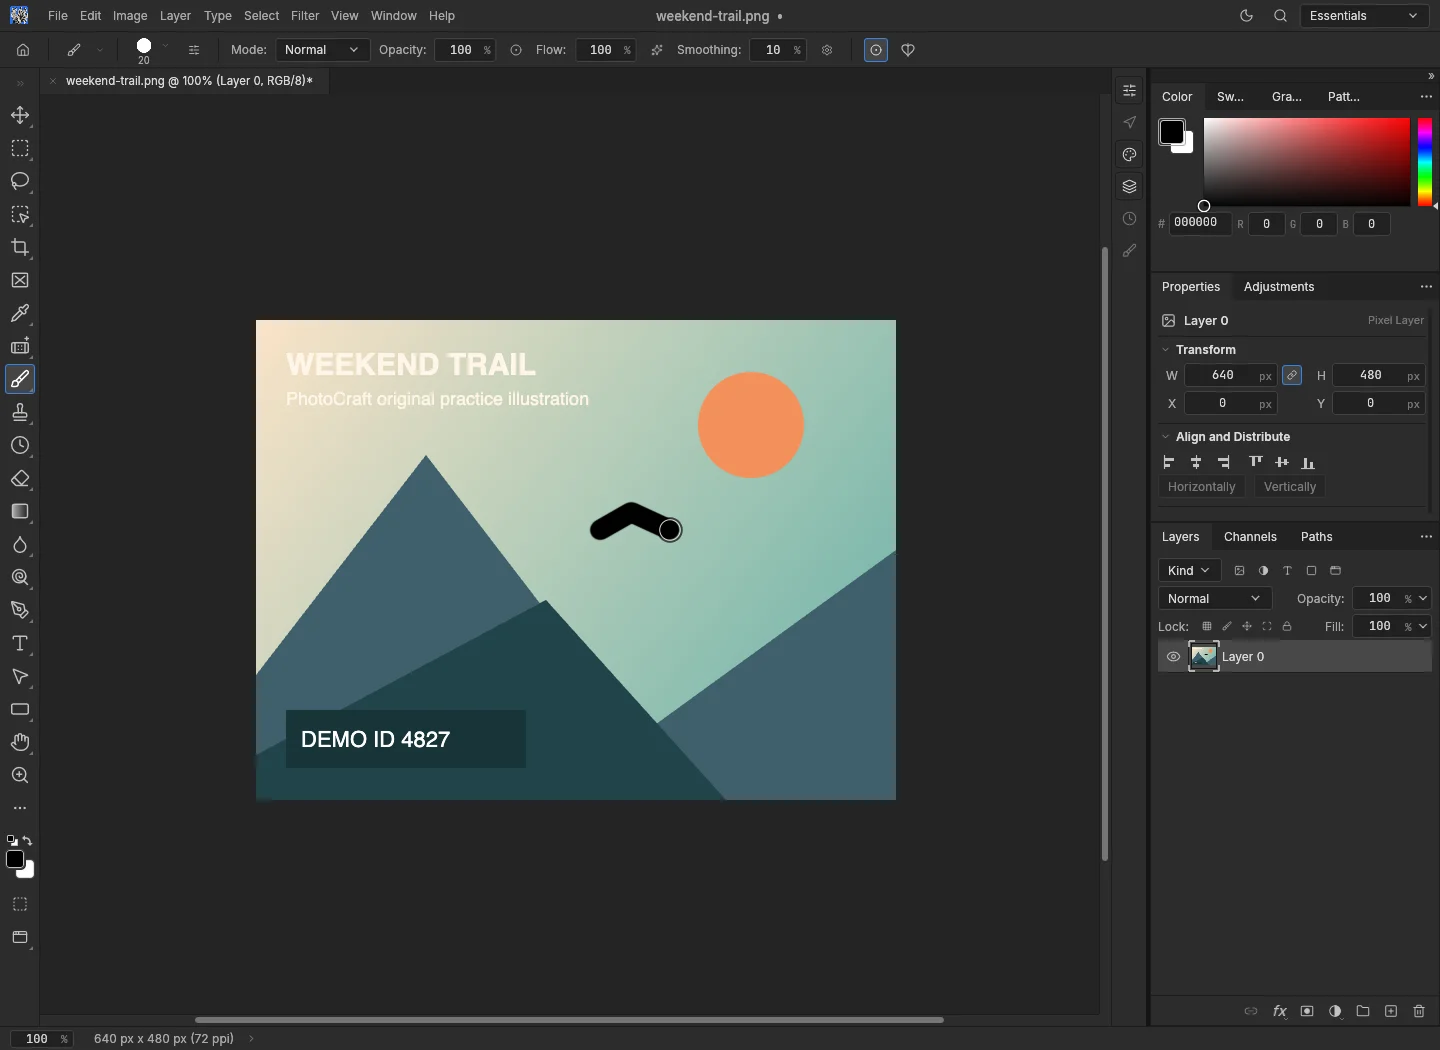
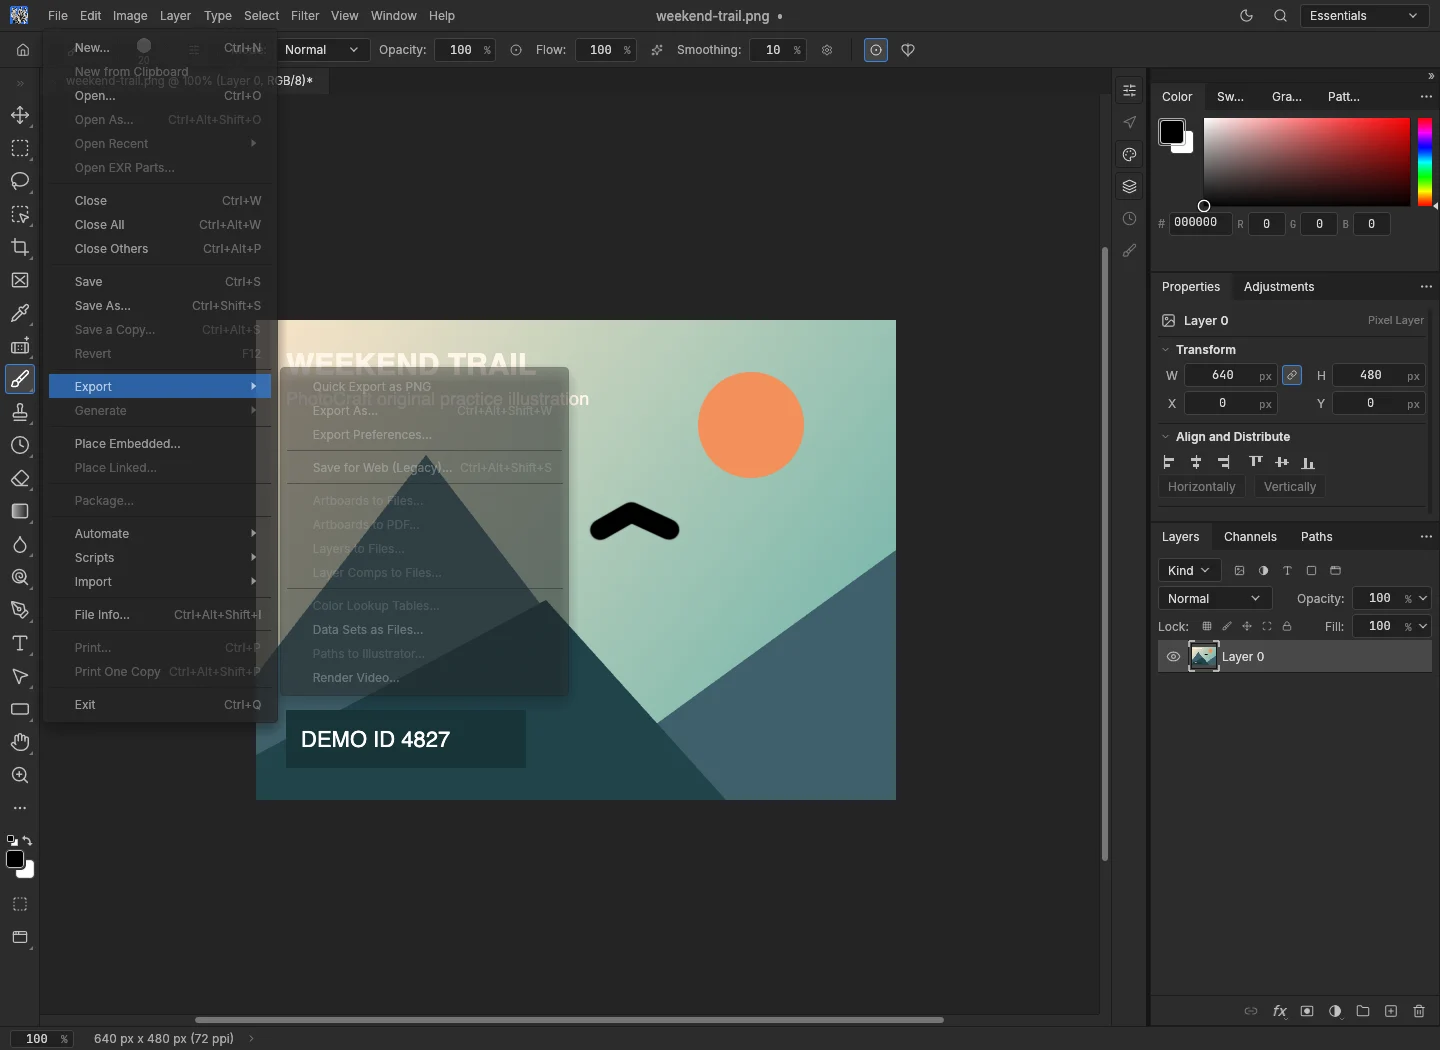
Select the Brush tool, pick black and draw a short chevron above the mountains. Keep the rest of the image intact. Choose File → Export → Quick Export as PNG and open the downloaded image. The small edit changes 2,285 pixels while retaining the 640 × 480 dimensions.
This is a useful first check for drawing, browser keyboard focus and downloading. If your exported picture has no mark, confirm the active document and look at the actual file rather than an older browser download. Continue with the PNG editing walkthrough.
A real brush edit and PNG download
640 × 480 PNG; 2,285 pixels changed from the input.
See the three editor captures
Download input PNGDownload result PNGRead measured results
Recorded 8 November 2026 in the 0.17.0-agent web editor, using Chromium on macOS. Screenshots show browser editing; desktop installation steps are separate.
2. Mirror the whole picture horizontally
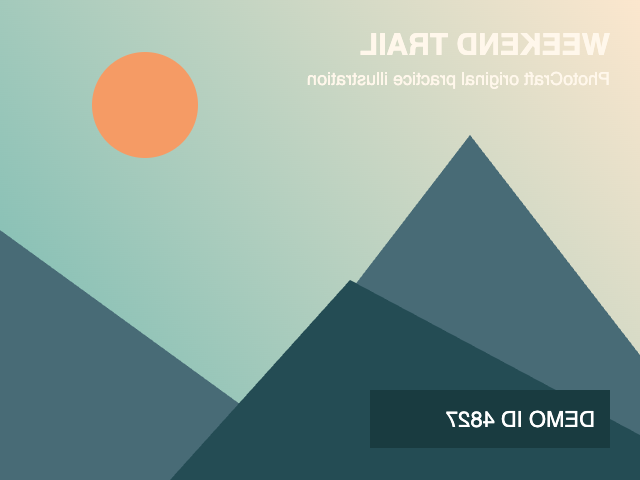
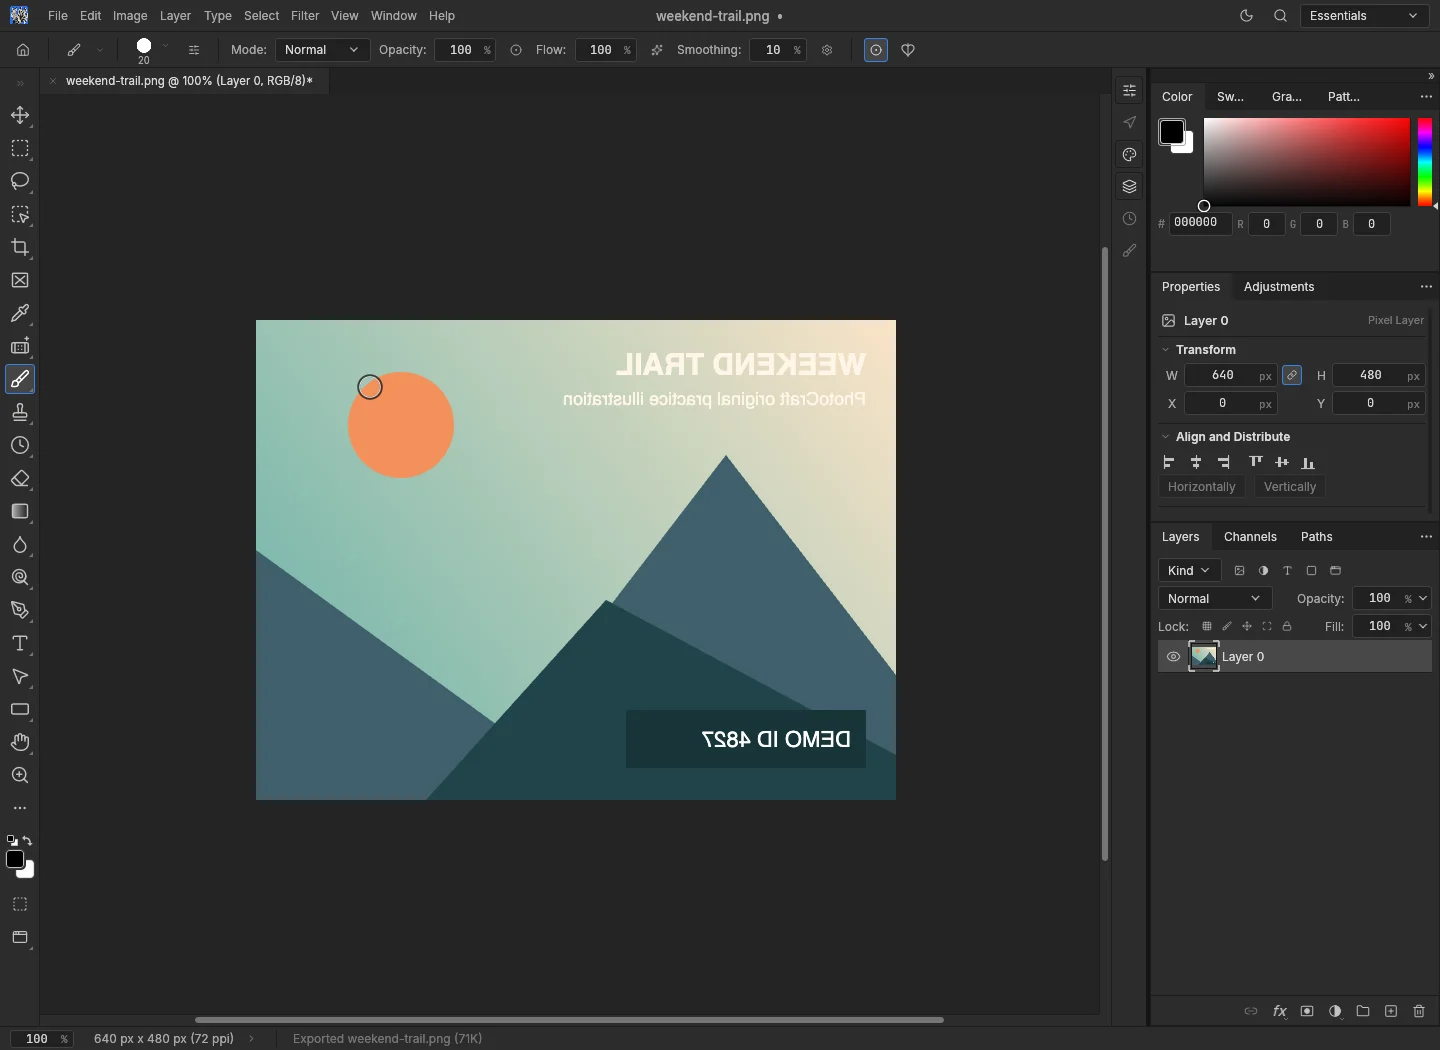
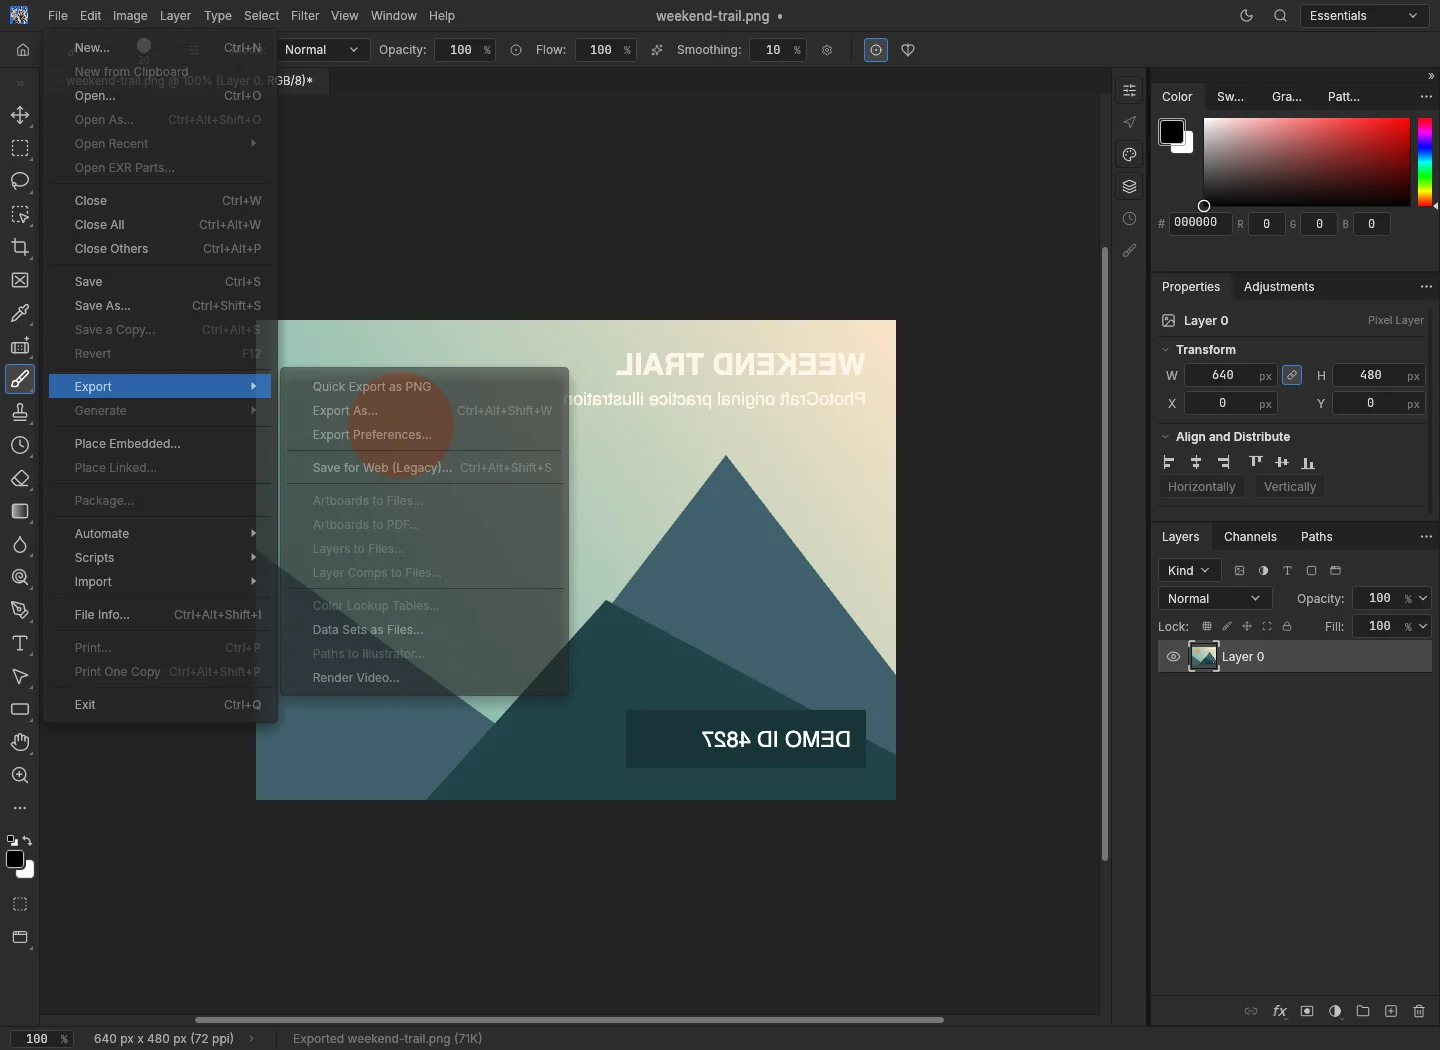
Open the untouched input. Use Image → Image Rotation → Flip Canvas Horizontal, then export a PNG. The sun moves from the right to the left. Every piece of lettering reverses too: a mirror acts on the whole canvas, including text already baked into its pixels.
We compared the downloaded image against a horizontal reversal of the original and found zero differing pixels. Use the flipping guide when you need to distinguish a mirror from a rotation, or when just one layer should change.
Horizontal mirror: checked pixel by pixel
640 × 480 PNG; every pixel matched the horizontally mirrored input.
See the three editor captures
Download input PNGDownload result PNGRead measured results
Recorded 8 November 2026 in the 0.17.0-agent web editor, using Chromium on macOS. Screenshots show browser editing; desktop installation steps are separate.
3. Apply Mosaic with a known cell size
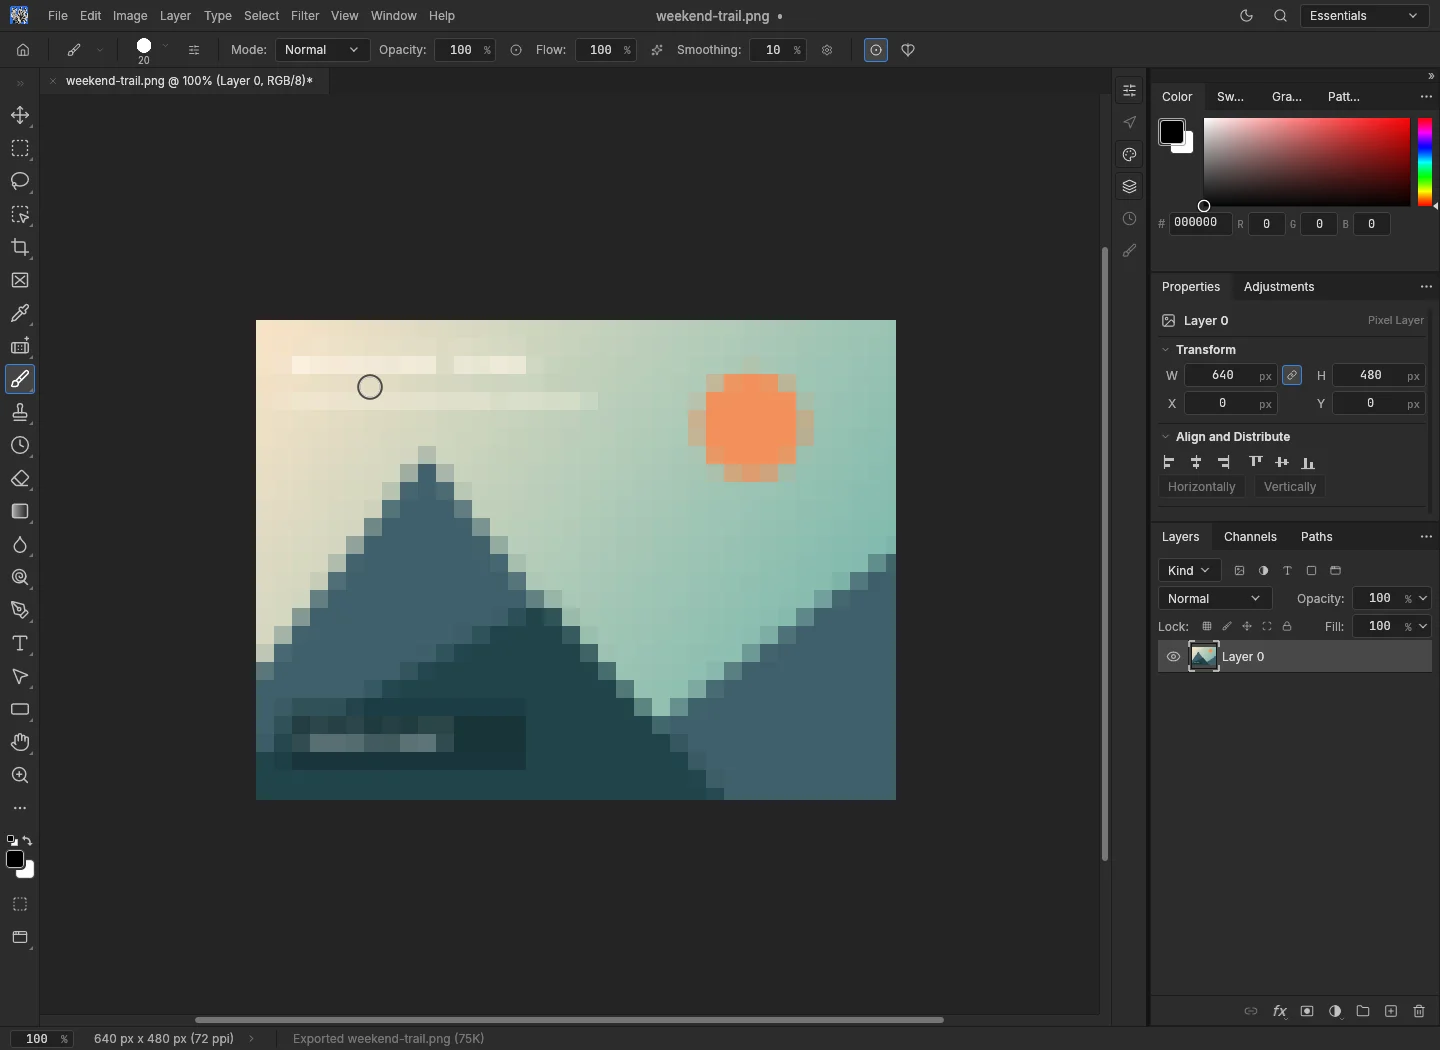
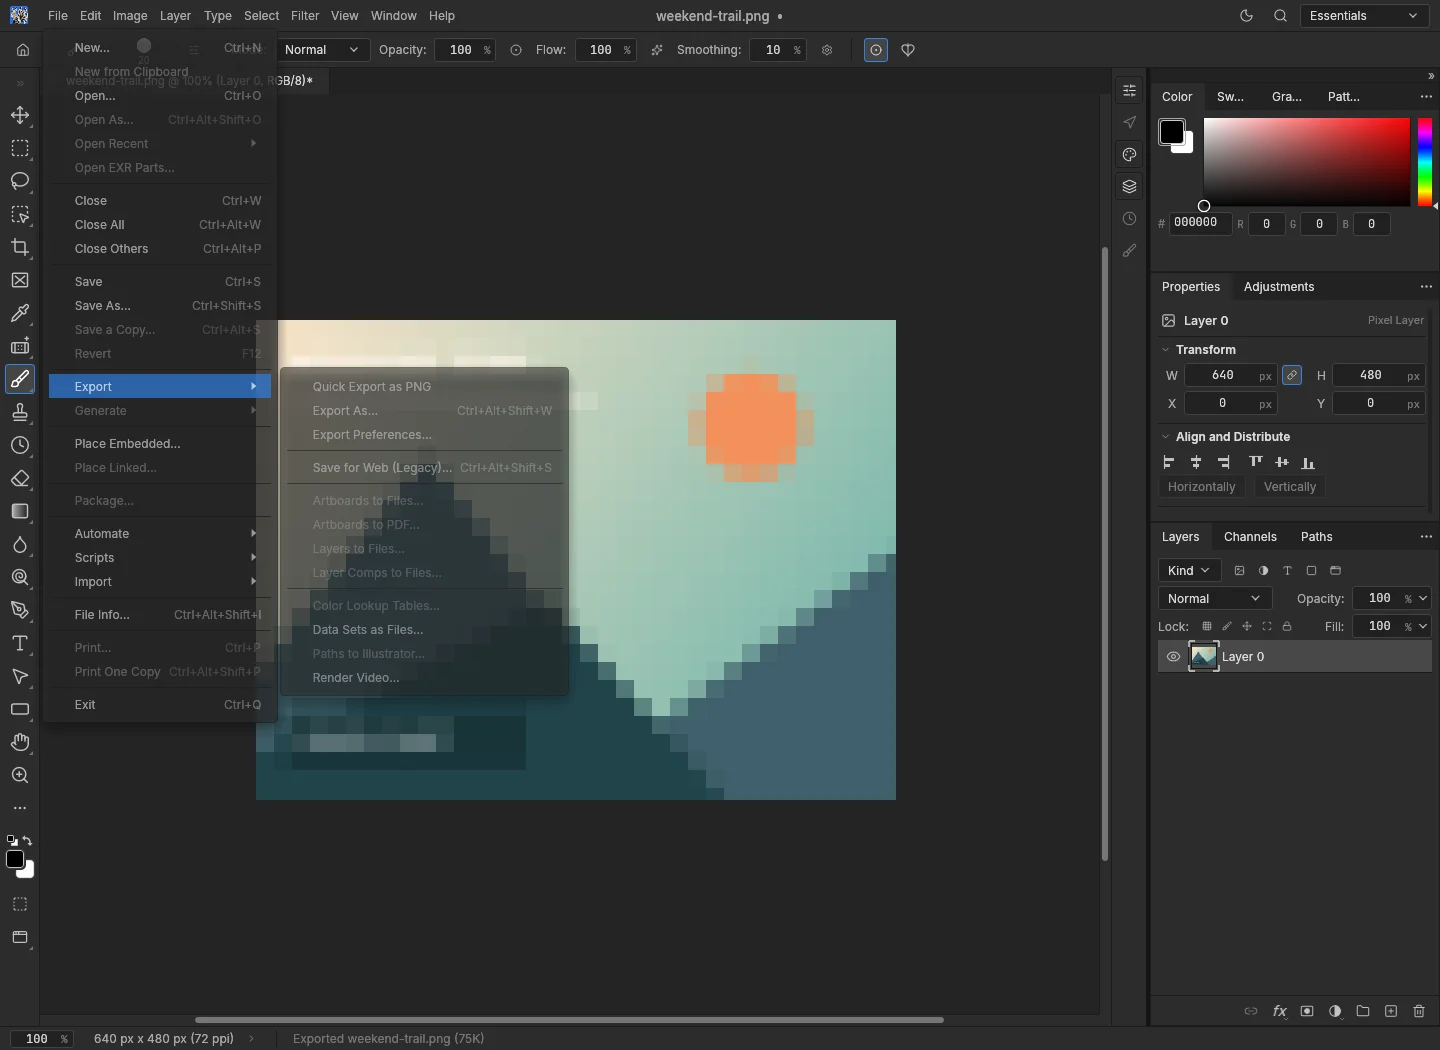
Reopen the original so the previous flip is not part of the next result. Choose Filter → Pixelate → Mosaic and set the cell size to 18. This example applies the effect to the whole image. The exported PNG keeps the dimensions and has 175,470 changed pixels.
The demonstration ID becomes blocky along with everything else. Pixelation is an image effect: this exercise does not establish that personal information is irrecoverable. For sensitive material, remove the information rather than assuming a visual effect provides secure redaction. The Mosaic guide covers selecting the area you intend to change.
Mosaic with an 18-pixel cell size
640 × 480 PNG; 175,470 pixels changed from the input.

See the three editor captures
Download input PNGDownload result PNGRead measured results
Recorded 8 November 2026 in the 0.17.0-agent web editor, using Chromium on macOS. Screenshots show browser editing; desktop installation steps are separate.
4. Export one half of the image
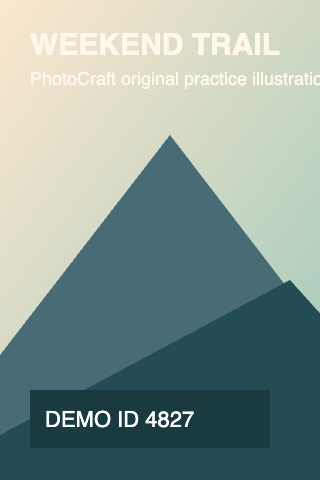
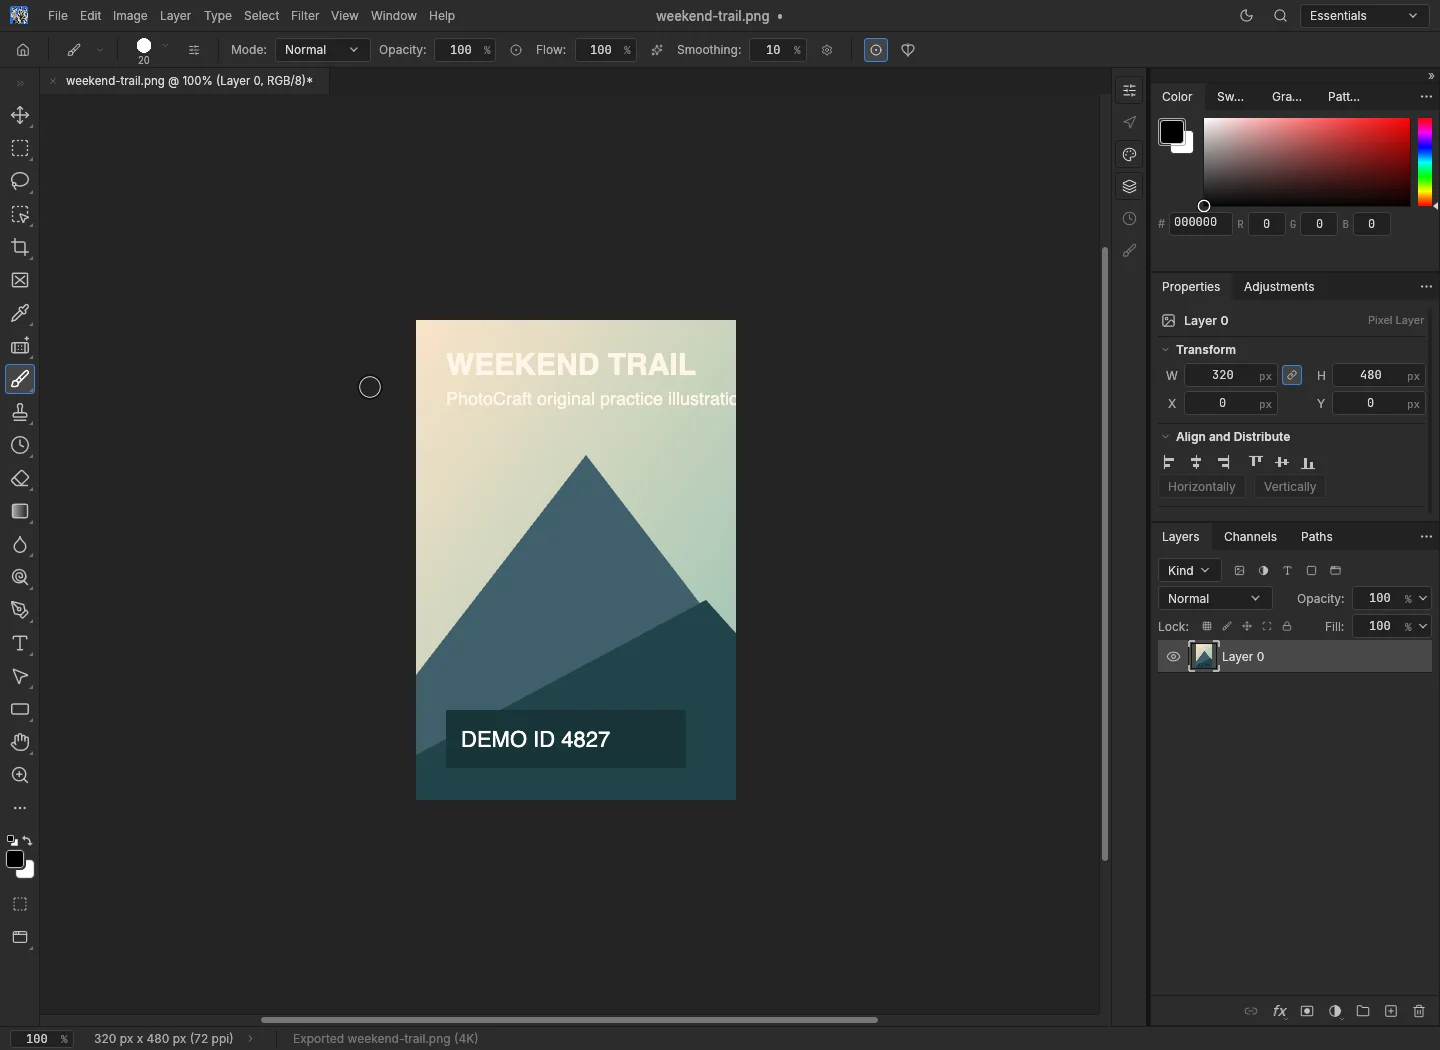
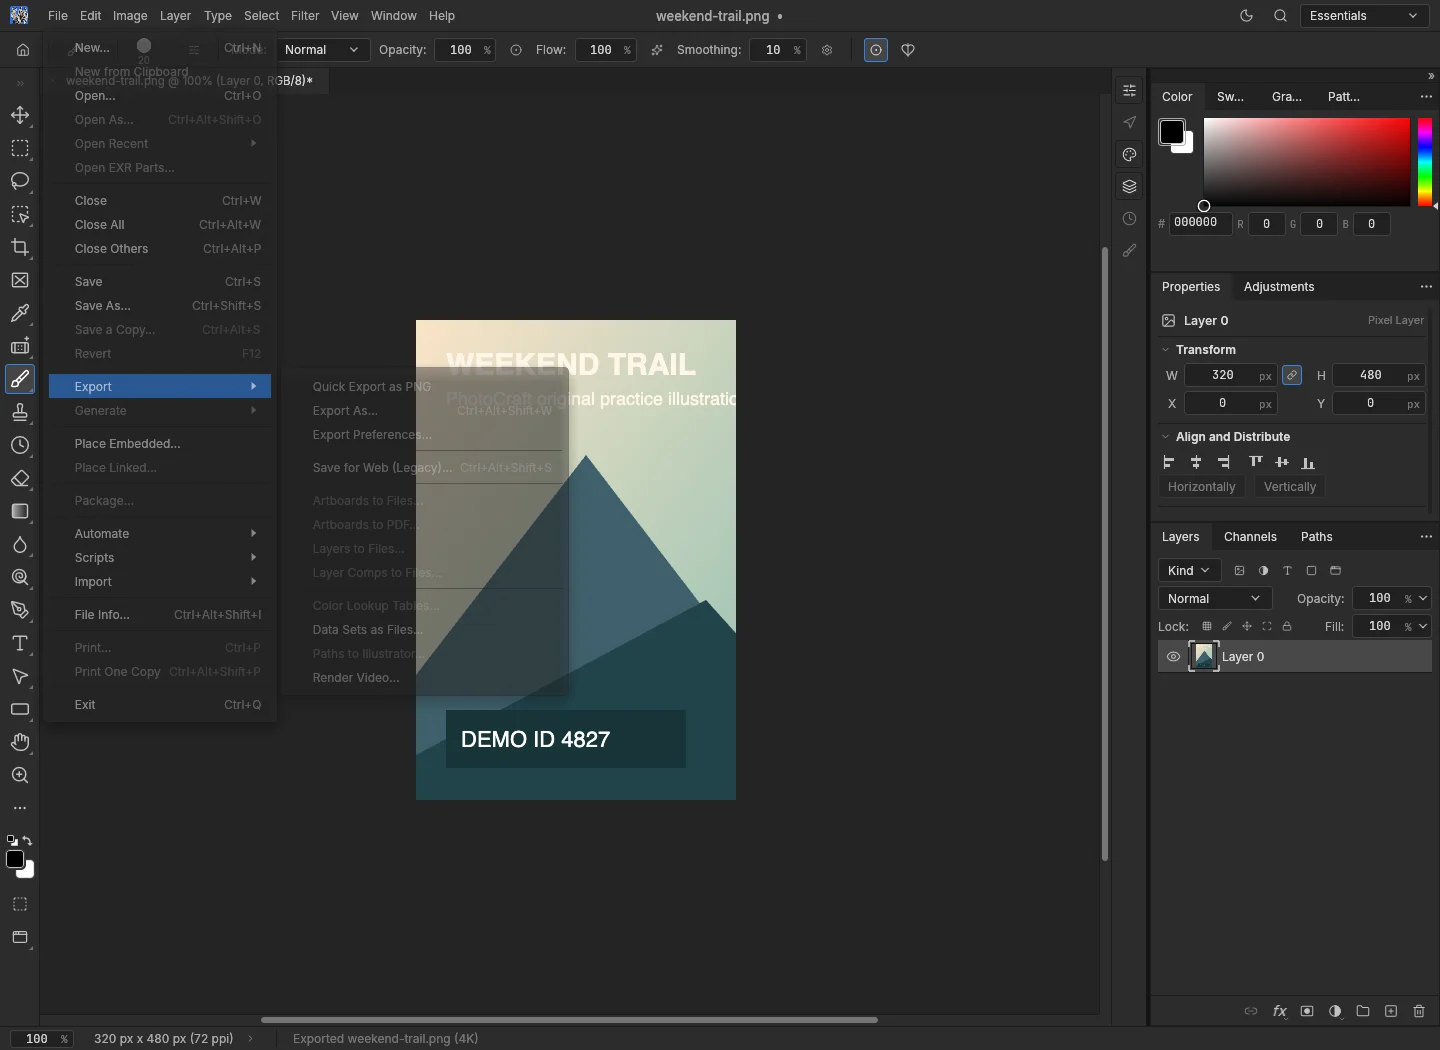
Crop a fresh copy to x=0, y=0, width=320, height=480. Export it as a separate PNG. The downloaded file is exactly 320 × 480, and its decoded pixels match the left half of the original.
To create the other panel, reopen the original and crop x=320, y=0, width=320, height=480. Always return to the full input before making the second crop; cropping the already-cropped file cannot restore the missing side. See the manual splitting tutorial for the full two-file workflow.
Export the left half as a separate image
320 × 480 PNG; every pixel matched the left half of the input.
See the three editor captures
Download input PNGDownload result PNGRead measured results
Recorded 8 November 2026 in the 0.17.0-agent web editor, using Chromium on macOS. Screenshots show browser editing; desktop installation steps are separate.
5. Build a mirrored pair and keep the layers
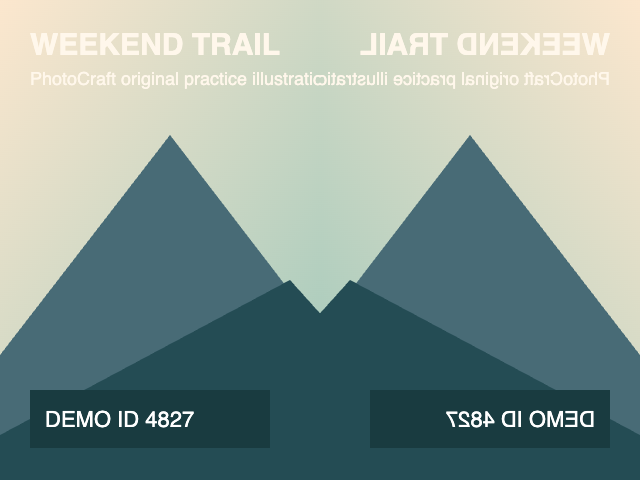
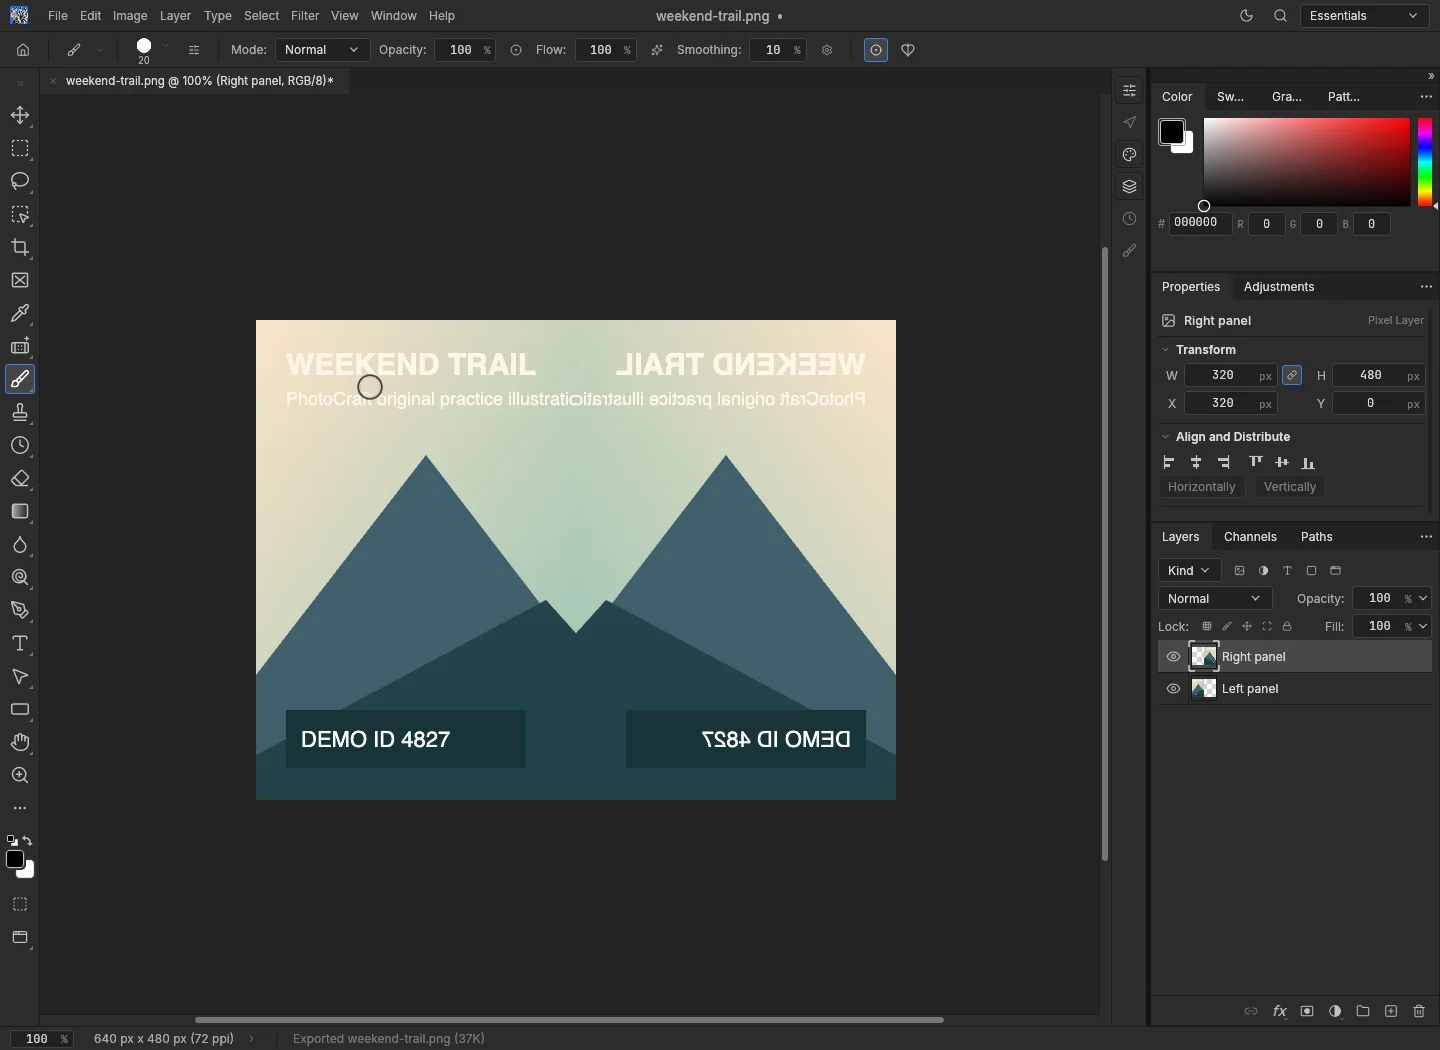
Begin with the left-hand crop. Increase the canvas to 640 × 480, anchored left. Rename the existing layer “Left panel,” duplicate it as “Right panel,” move that copy 320 pixels right, and flip just that layer horizontally. You now have two independently editable panels.
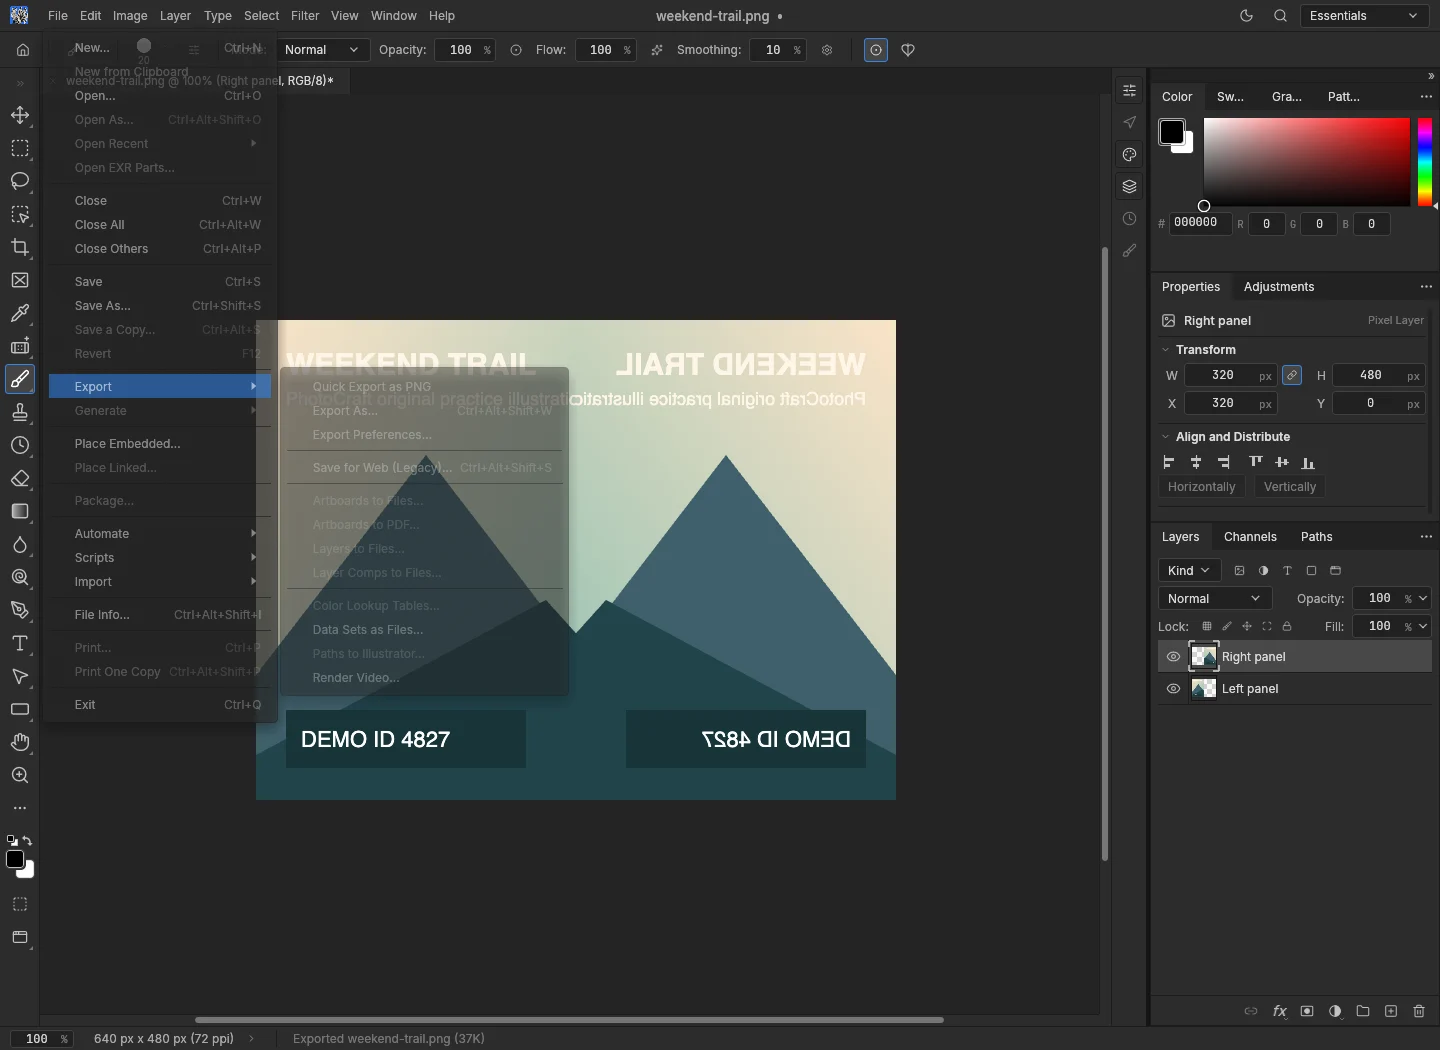
Export a PNG for viewing, then save a PSD for continuing the project. Our reopened PSD retained the two layer names and their 320 × 480 bounds. Exporting the reopened document produced a PNG identical to the first composition export. The combining guide explains layout choices; the PSD guide separates this small verified round trip from more complex Photoshop handoffs.
Two panels, two editable layers
640 × 480 PNG and a two-layer PSD; reopening the PSD produced an identical PNG (0 differing pixels).
See the three editor captures
Download input PNGDownload result PNGDownload editable PSDRead measured results
Recorded 8 November 2026 in the 0.17.0-agent web editor, using Chromium on macOS. Screenshots show browser editing; desktop installation steps are separate.
Keep a copy you can reopen
A PNG is the finished picture; the PSD in the last example preserves the two-layer working document. Download both before closing the tab. The current browser build has no automatic recovery, so a page refresh is not a safe checkpoint. Use the backup checklist to finish each editing session with a verified local copy.